Sod Installation Cedar Park TX
New sod installation is an effective way to create a beautiful, green lawn. Whether you're starting from scratch or replacing an old lawn, the process requires some planning and effort. In this blog post, we'll discuss the steps involved in new sod installation to help you achieve the lush lawn of your dreams.
Step 1: Soil Preparation
Before installing new sod, you need to prepare the soil. This involves removing any rocks, weeds, or debris from the area. It's important to have a smooth, level surface for your sod to ensure proper growth and drainage.
Next, you should test the soil to determine its pH level and nutrient content. You can do this with a soil testing kit or by sending a sample to a soil testing laboratory. Based on the results, you can amend the soil with compost, fertilizer, or lime to ensure your sod has the proper nutrients for healthy growth.
Step 2: Sod Delivery and Storage
Once the soil is prepared, you can order your sod. Make sure to order enough sod to cover the entire area, plus a little extra to account for trimming and shaping. You should also have the sod delivered as close to installation time as possible to avoid drying out.
Before installation, you should store your sod in a shaded area and keep it moist to prevent it from drying out. Avoid stacking the sod too high, as this can cause heat buildup and damage the grass.
Step 3: Sod Installation
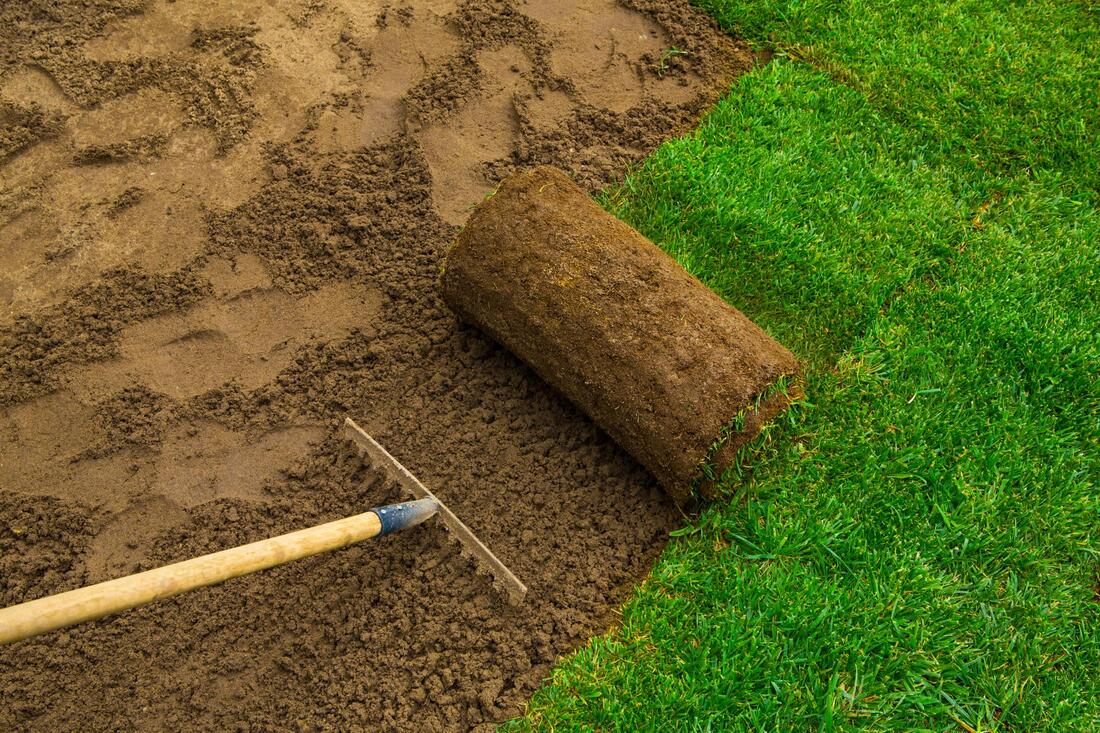
Now it's time to install the sod. Start by laying the first row of sod along a straight edge, such as a driveway or sidewalk. Make sure the edges of the sod are snug against each other, but don't overlap them. Use a sod cutter or knife to trim any excess edges.
As you lay each subsequent row of sod, stagger the joints like a brick pattern to create a more stable surface. Make sure to press each piece of sod firmly against the ground to ensure good contact with the soil.
Step 4: Watering and Maintenance
After the sod is installed, it's important to water it immediately and regularly for the first few weeks. Water the sod deeply to encourage root growth and avoid shallow roots, which can lead to dryness and damage.
In addition to watering, you should also fertilize your new sod to promote healthy growth. Follow the manufacturer's instructions for proper application.
Finally, avoid walking on your new sod until it has rooted firmly into the ground. This usually takes about two to three weeks. After that, you can mow your new lawn to a height of 2-3 inches to promote even growth.
In conclusion, installing new sod requires some effort, but the end result is a beautiful, healthy lawn. By following these steps and properly caring for your new sod, you can enjoy a lush, green lawn for years to come.

